Texture Makes the Moisture Work
The UnWipe's texture makes a massive difference – the bumps lift residue, and the grooves capture it instead of smearing. This compressed texture quilts the paper to make it thicker and with triple the wet strength. Dry TP, wet TP, and wet wipes cannot match it.
🧻 Press the toilet paper into The UnWipe’s mesh for just ½ second—down and up. Bam! Less water = stronger texture.
🧻 For your first try, add an extra sheet of toilet paper. More paper = thicker texture.
Experiment and find your perfect balance—texture beats no texture every time.
Since we can't be in the stall with you to demo – obviously – this coach is the next best thing:
Let's get you to a perfect clean.
The UnWipe works by pressing dry toilet paper onto a mesh above a damp sponge. As you press, water seeps up through the mesh holes simultaneously — moistening the paper and shaping it into cleaning nubs and gathering grooves. Together they do what dry paper or flat soggy paper never can.
Is this your very first time using The UnWipe?
Two things to know before you start.
A bonus third.
Adding water — generous, then drain it down.
This happens at the sink, before you head to the stall. No need to be precise — the technique below handles the calibration.
Prepare your paper.
Fold or scrunch — both work. What matters is thickness: more layers make a stronger, more effective result.
One smooth, even press. Quick.
This is where the magic happens — and where most first-timers need just one small adjustment.
Go ahead — give it your first press. How did it feel?
A little too much moisture.
The nubs and grooves need the paper to hold its shape against the mesh. When it's too saturated, texture weakens.
Shorter press: Try a crisp ½-second press — down and up. The moisture transfer is near-instant when the sponge is fresh.
More sheets: Add 1 extra sheet. Thicker stacks absorb surplus and keep the result sturdy.
Drier sponge, shorter press, one more sheet.
How did this attempt feel?
Almost there — one more thing to try.
Needs a bit more moisture.
Dry paper is stiff — it rests on top of the mesh instead of molding into it. The nubs won't form cleanly without enough moisture to make the paper pliable.
Slightly longer press: Hold for a full 1 second — still quick, but gives moisture time to travel upward as you press.
Fewer sheets: Try one fewer sheet. Thinner stacks let moisture travel through more easily.
Wetter sponge, full 1-second press.
How did this attempt feel?
One more thing to check.
That's The UnWipe doing exactly what it's designed to do.
The nubs reach the contours of your 🍑. The grooves gather the residue. Within a few more uses, your personal sweet spot — paper count, drain level, press duration — will be completely automatic.
"Clean you can trust when you need a restroom you don't."
What experienced users know.
Watch this first
New habits take practice to learn. Quilting toilet paper to create cleansing texture is one of those. This video shows the best practices for getting the most from The UnWipe.
How to add water
Just add water. Plain, clean water. Add water every few days as needed. Pop the lid off by pressing the sides, add water from the faucet🚰, and drain the excess so that the toilet paper you use doesn't get soggy. Can it really be that simple? Watch Logan explain it all to you.
For your very first use, give it a good rinse inside and out before adding the water.
How to use
We assume you know how to use 🧻 and really don't want us to elaborate. 🫣 Thus, when you're 'done' on the toilet, use dry paper once like normal. (Skip the "dry" step if wiping the front side.)
Then scrunch or fold fresh toilet paper, press it into The UnWipe's mesh for just ½ second, and use again like normal. Done right, the textured paper will be thicker and a bit dryer than a wipe.
Repeat until clean – cleaner than from dry 🧻 alone. But really, it's much more fun to watch Logan explain.
How to clean
Clean The UnWipe at least monthly when you clean the rest of your bathroom. You do clean at least monthly, right? 🤦🏻♀️ The outside can be washed with soap and water. 🧼💧 Clean The UnWipe in the microwave, the dishwasher, or with vinegar. Check out Logan's video for details, including genius safety insights like 'don't touch things that are hot.'
Wet Wipes Are Clogging Your Toilet — There's a Better Way
Dry toilet paper isn't enough. Wet wipes are wrecking your plumbing. The UnWipe is the fix.
Your Airbnb Host Will Thank You for This
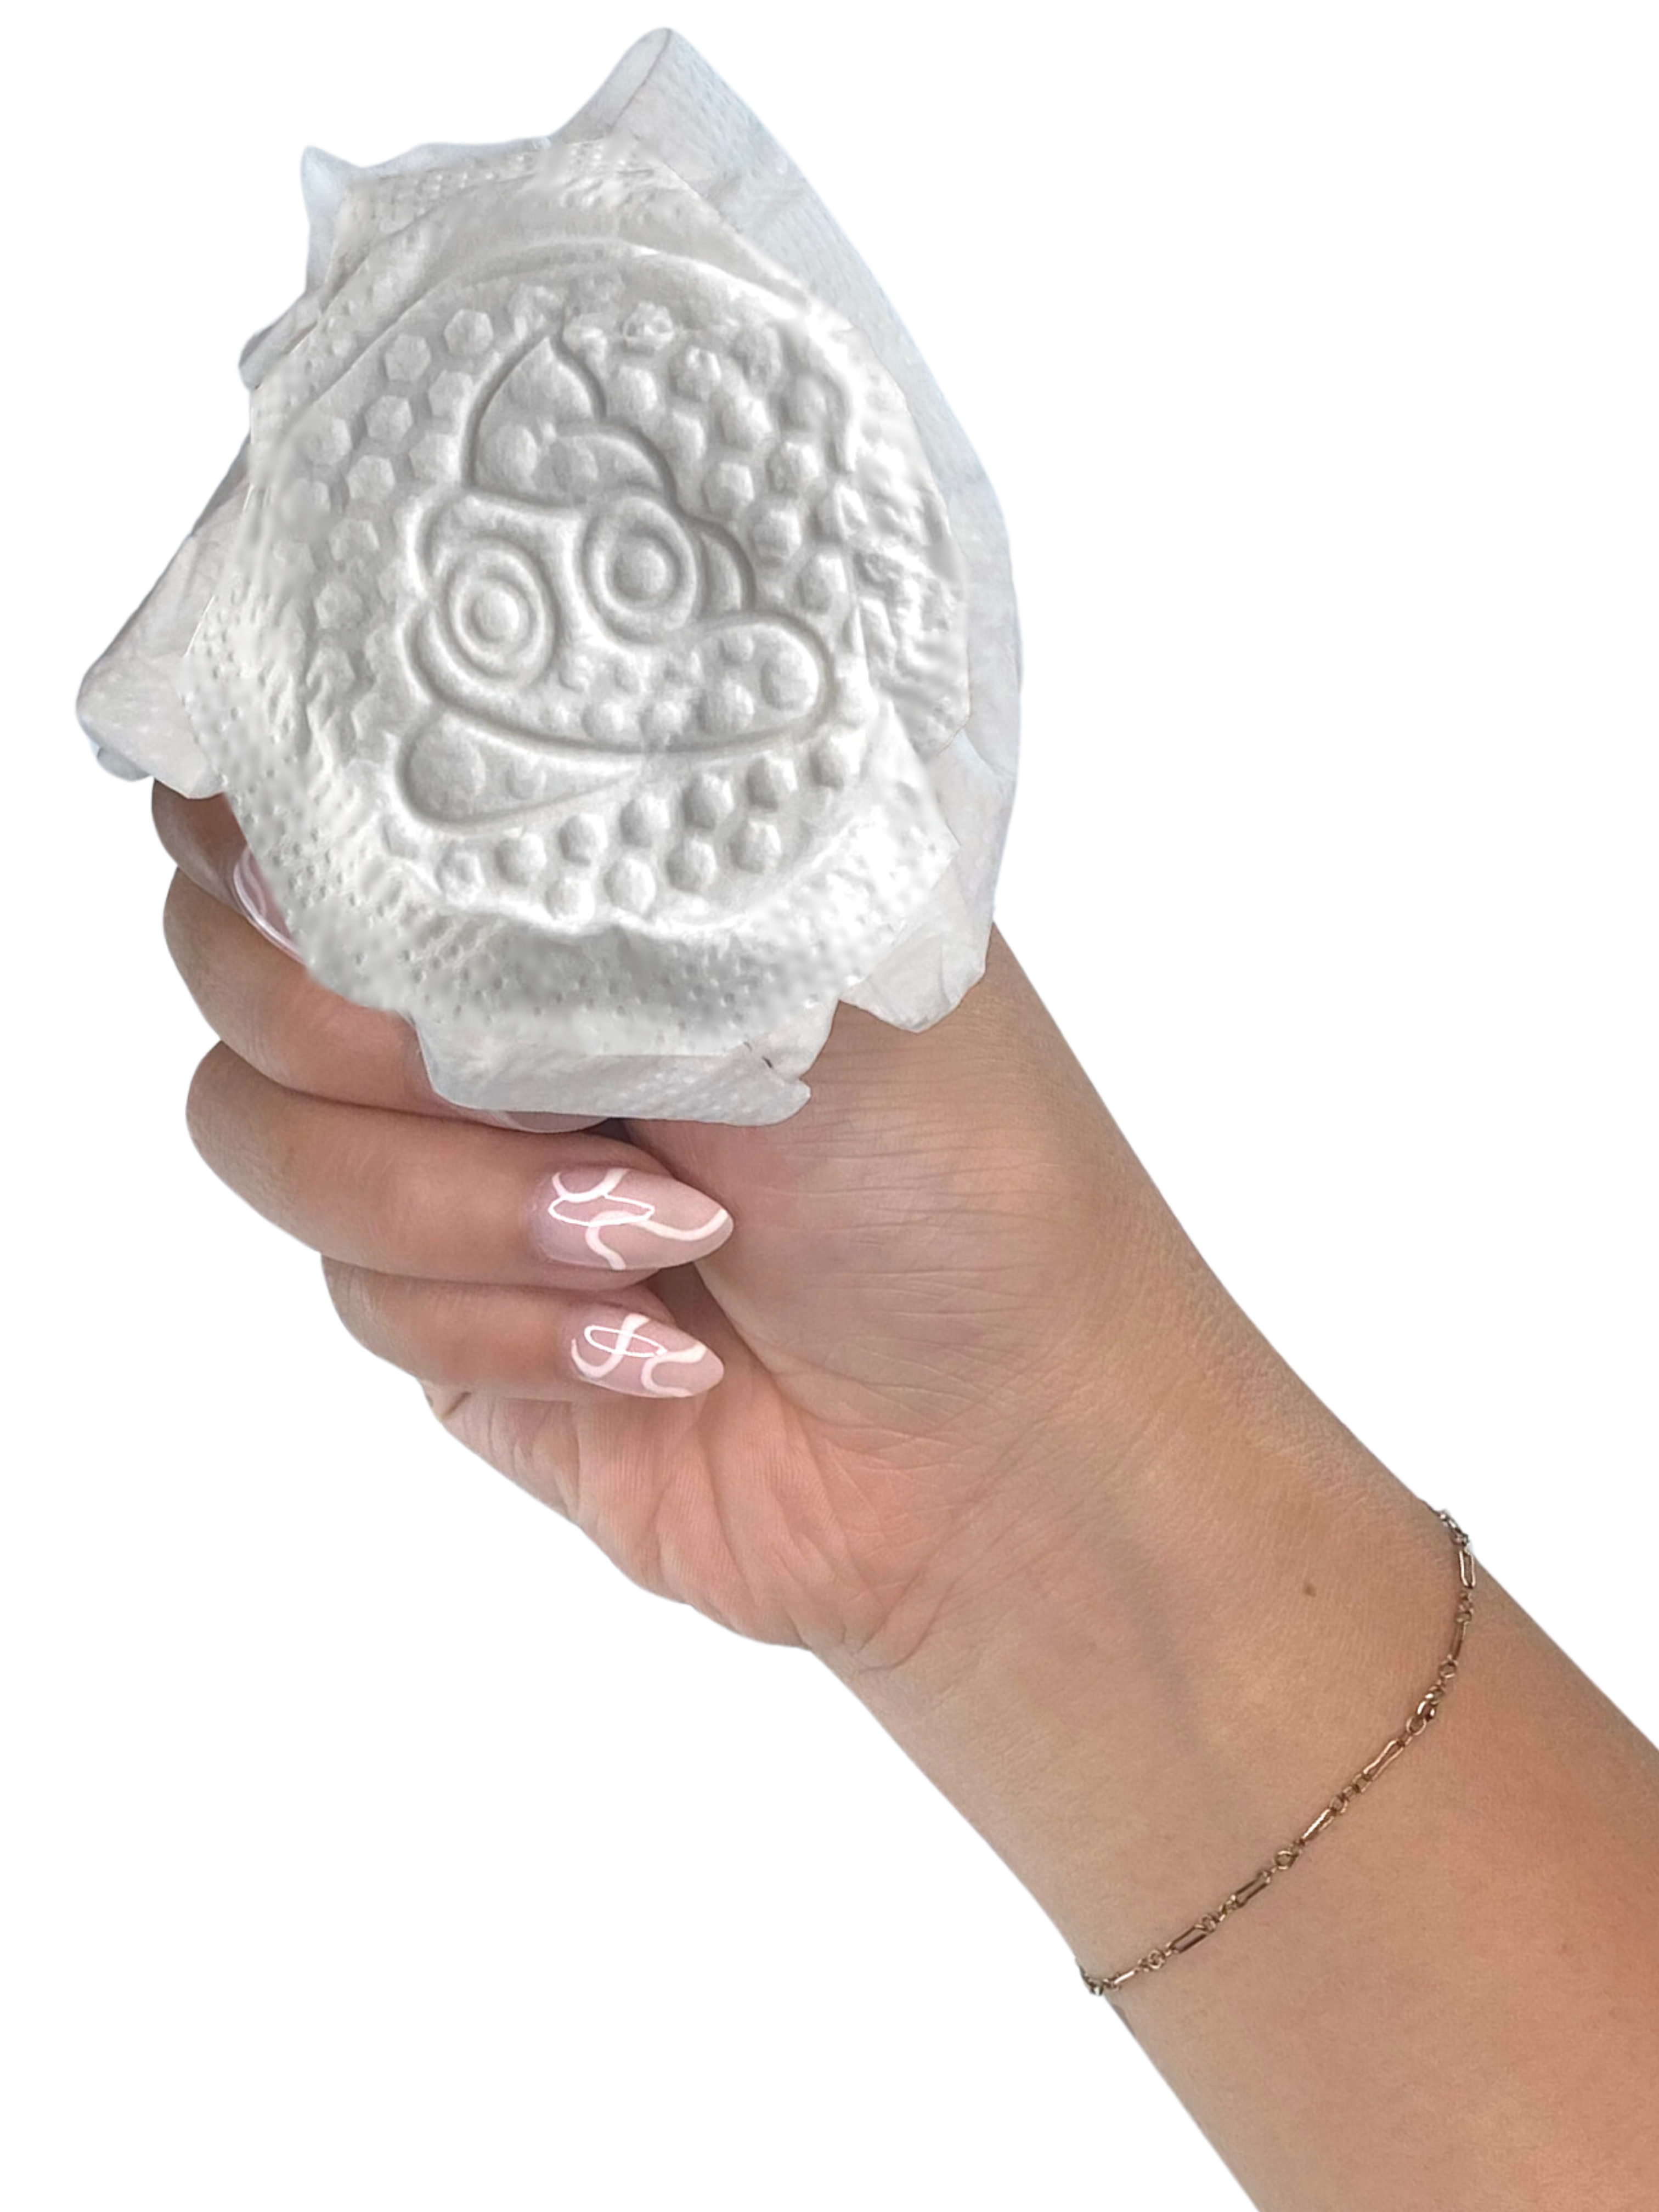
Toilet paper alone doesn't cut it — but you're not supposed to flush wet wipes either. (Seriously, the Airbnb said so.) See how The UnWipe cleans Smurf poop. (It's not really Smurf poop...or is it?)
Never Run Out of Wipes Again — This Is How
Always running out of wipes for the kiddos? Same, or used to be. The UnWipe is a reusable silicone tool that transforms regular toilet paper into a wet wipe on the spot — for you and your kids.
One Clogged Toilet Changed Everything for Her
All it takes is one embarrassing plumber visit to realize flushable wipes aren't actually flushable. That's why she switched to The UnWipe.
Clean Feeling in the Wild — No Wipe Left Behind
Love the clean feeling of wipes on the trail — but hate what they do to the environment? The UnWipe turns even the cheapest toilet paper into a soft, textured wipe.
Foolproof Traveling with The UnWipe
Highway rest areas, gas stations, hiking trailhead toilets, airplane lavs, and other bathrooms away from home have icky toilets and cheap 🧻. Use The UnWipe in any of these bathrooms and with any toilet paper to get the clean feel of wipes without the cost or damage of wipes. Here's how to prep The UnWipe for travel – it takes all of three seconds to get it ready to carry in a purse, pocket, backpack, or diaper bag.
Unboxing The UnWipe
A delightful customer shows what you can expect to see when your package arrives.


The UnWipe in the wild!
24 miles long. 1 mile vertical. 11 hours. Toilet stop is inevitable. The Grand Canyon has the nicest possible chemical toilets with the thinnest possible paper. Using that TP alone would be ... not good ... with 19 miles still to go, and it's not the place to dispose of synthetic wipes. IYKYK. The UnWipe solved both problems for a clean, sustainable, unforgettable Rim-to-Rim hike.
Pro Tips
Use less water
Texture is everything. It makes The UnWipe different from dry paper, wet paper, and wipes.
More water makes paper mushy. Drain excess water from The UnWipe.
Use enough TP
Paper creates texture. More paper makes thicker texture, so if you want to feel that, scrunch an extra sheet of paper. Because our texture cleans better, it's still less paper than dry.
Press shorter
A shorter press creates better texture. With a long press the paper absorbs more water, right? Quick – ½ sec or so – is enough. If you see and touch distinct texture, and it's not soggy, you're good to go!
Use warm water
Warm water makes wiping feel sublime. It's freakin' awesome. Try it. Just add hot or warm water before you go, and use The UnWipe like normal. Can't do that with wipes, sprays, or a standard bidet.